

SESSION 3
OOC DATE: 17/07/26
IC DATE: 9th Jadewind 1500 AF
IC TIME PASSED: Approximately 5 days, plus downtime/rest in Sarmarkesh
PLAYERS: DUGGOR, SARYA & VANDREN
SUMMARY
The session began in Sarmarkesh, the City of Thieves, on the morning after the party had made peace with Layla Saffar. The party had been investigating the murder of Farzad Nassour, a Greenharbour Company trader who had uncovered evidence of smuggling and internal corruption. During the previous session, Vandren had been accosted by Layla Saffar, the assassin who killed Farzad, but she had revealed that she too suspected there was more to the affair than a simple contract killing.
The party had spent the night at the wealthy home of Zuleikha Al-Nasir in the Black Stair district of Sarmarkesh. The next morning, Duggor, Sarya, Vandren, Grimvar and Zayid Al-Marid headed through the hot, crowded streets toward the Bazaar of Lost Things to meet Layla Saffar.
As they travelled through the market streets, Vandren noticed that the party were being followed. To confirm his suspicion, he diverted the party to a coffee stall and began asking the vendor elaborate questions about the coffee beans, camel milk and brewing methods. While the others bought drinks, Vandren spotted seven robed figures pretending to examine a nearby building while clearly watching the party.
The figures realised they had been noticed and attacked, crying out “Death to the non-believers!” They threw back their cloaks and rushed the party with wicked curved blades. Sarya used her wand to make Vandren invisible, while Duggor and Grimvar charged forward to meet the attackers. Zayid Al-Marid cast a mage bolt, striking one of the cultists.
The fight quickly turned bloody. Grimvar was overwhelmed and killed by the cultists, cut down in the street while fighting beside Duggor. Vandren was badly wounded after trying to attack from invisibility with his tomb sword. His demonic jackal-headed possession briefly manifested as he fought back against the cultists.
Sarya and Zayid Al-Marid used magic against the attackers, while Duggor killed one cultist and intimidated another into fleeing. Red Sash mercenaries arrived during the battle and helped drive off or kill the remaining attackers. Vandren was struck down but Sarya managed to stabilise him, bringing him back from the edge of death. The Red Sashes gave the party two green healing vials, which were used on the wounded warriors.
The Red Sash guards identified the attackers as members of the Cult of the Black Pyramid. They noted that the cult had been causing trouble in the city, though attacking openly in broad daylight was unusual for them. One guard also showed the party a metal disc bearing a black triangle, matching symbols previously found connected to the diverted Greenharbour Company goods.
After the guards left, the party searched the dead cultists. They found 10 gp and a rolled parchment stating: “The unbelievers must be killed. They cannot interfere with us finding Rafik and the Hollow Crown.” The note was signed by someone calling themselves the Dark Pharaoh. Vandren also took a black triangle medallion from one of the cultists and hid it under his shirt.
The party continued to the Bazaar of Lost Things and met Layla Saffar. She was surprised by their battered state, and Vandren explained that their morning coffee had come with seven armed true believers. Layla told the party she had continued investigating and had confirmed that Greenharbour goods were being diverted into the black market. She had also learned from the Bone Lanterns, a group of smugglers and undercity guides, that one of their number, Rafik the Pale, had stolen something from one of the smuggled consignments. Whatever he had taken seemed to have affected him, and he had disappeared into the caverns beneath Sarmarkesh.
The party paid 10 gp to arrange a Bone Lantern guide. They were led through a maze of streets and damp tunnels beneath the city to the Palace of Forty Doors. The palace stood behind an ornate mural showing forty raised painted doors. The clue from Farzad said, “Where forty doors stand, seek the one which casts no shadow.” Because it was nearly noon, the party spotted one raised door in the mural that did not cast a shadow.
Examining the shadowless door, they found a seam around it. The party pulled the block free and discovered a hidden alcove containing a small book. The book was Farzad’s missing ledger. Sarya and Zayid Al-Marid examined it and confirmed that it recorded Greenharbour Company shipments, with numerous irregularities circled and annotated by Farzad.
The ledger showed that someone had been falsifying shipment records to disguise the diversion of Greenharbour goods. Farzad suspected that Jamal Jeyr, a senior figure in the Greenharbour Company, was responsible. His notes indicated that Jamal was diverting Greenharbour resources to an organisation referred to as “the Pyramid”, allowing them to sell the goods and fund expeditions. One recent shipment had also hidden an artefact recovered by the Black Pyramid: the Hollow Crown.
Layla recognised Rafik the Pale as a Bone Lantern and suggested speaking to the Bone Lanterns’ leader. She pressured the party’s guide into taking them to the Cavern of Sorrow, the Bone Lanterns’ ossuary-like headquarters beneath Sarmarkesh. The cavern was built from the bones of those who died during the city’s first conflict with the Sultanate.
There, the party met Bairam Shojaii, leader of the Bone Lanterns. He confirmed that Rafik the Pale had once been one of their reliable guides but had recently become strange, speaking about restoring the ancient power and glory of old Kemet. Others had listened to him with unnatural fascination. Bairam ordered the guide Copes to take the party to the place Rafik had last been seen: the Veil of Tears beneath the city.
The party travelled through the under-tunnels to a damp cavern where water dripped constantly from cracked clay pipes overhead. There they found four ragged beggars who had been left behind by Rafik. The beggars were in a fanatical trance, talking about Rafik leading them to restore the glory of old Kemet.
One of the beggars said that Rafik had left three days earlier for the Pyramid of Sobek’s Slumber, a recently uncovered pyramid two days east of the city. Vandren attempted to approach the beggars while wearing the Black Pyramid medallion, but they immediately declared him an enemy and attacked with sticks and crutches. The party realised the beggars were not acting normally and subdued them without killing them.
When the beggars awoke, they seemed to be free of the trance. One of them, Azar Pacal, explained that Rafik had gathered many of the poor by promising to improve their lot and restore ancient glory. At the time, his words had seemed completely reasonable, but now they sounded absurd. Rafik had taken the fitter beggars with him to the pyramid, while the four lame or injured beggars had been left behind. The party gave them food, coffee and a silver each, earning goodwill and improving Vandren’s renown.
The party rested in Sarmarkesh, purchased supplies and prepared for desert travel. Grimvar’s body was taken to be dealt with according to local customs, as bodies in the heat had to be burned within a day. Sarya bought rations for Zayid Al-Marid, and the party prepared to travel to the Pyramid of Sobek’s Slumber.
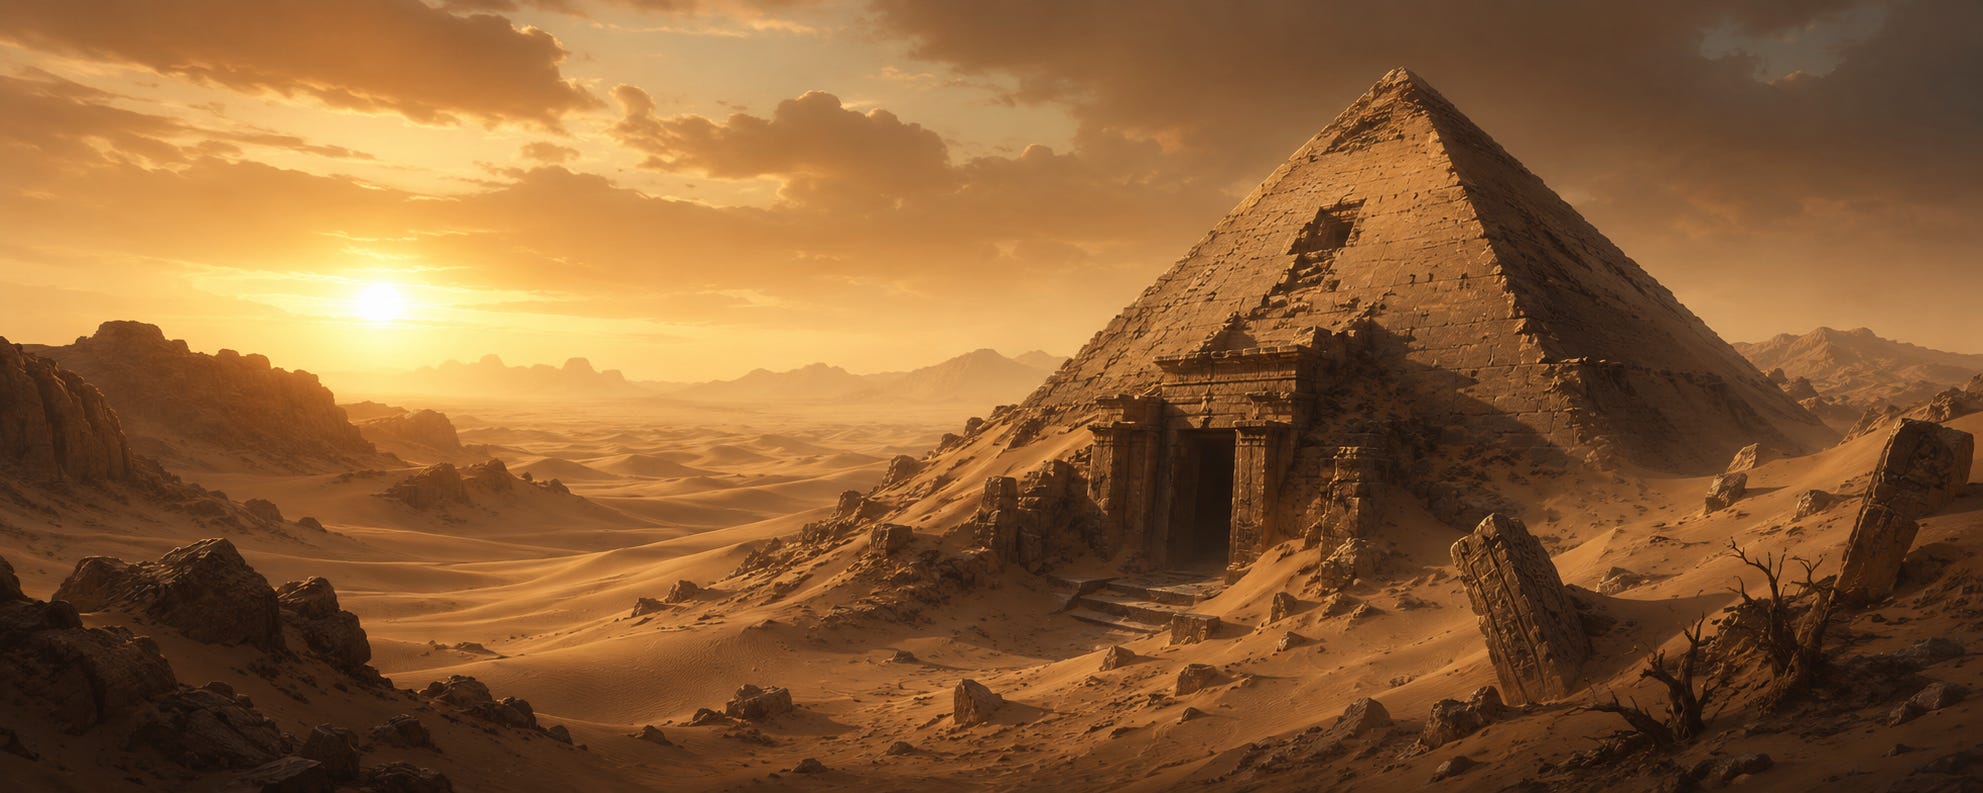
They set out at dawn and travelled for two days across the dunes. The journey was uneventful. Near the end of the second day, as the heat began to leave the air, they saw the partially buried top of a pyramid jutting from the sand. It had only recently been uncovered by a sandstorm.
The party searched for an entrance. It took until sunrise the next morning, but they eventually found a flagstone that had been moved recently. Duggor and Vandren forced it open, though not quietly, revealing a dark sloping corridor leading into the pyramid.
Inside, the air was cool and damp. The party found two stone doors at the end of the passage. From one door came rhythmic chanting, while water seeped from beneath the other. Investigating the wet door, they found a flooded chamber containing a headless corpse floating in the water. Beyond it they glimpsed a cloaked figure, a bound prisoner in red robes and a skull-like metal mask, and something large moving beneath the water. Moments later, screams came from behind the door, confirming the presence of a crocodile or alligator-like monster.
The party turned instead toward the chanting door. They prepared oil flasks in case the chamber contained hostile cultists, but hesitated when they realised the people inside might be innocent victims under magical control. Sarya cast Mage Armour and used her wand to make Vandren invisible before Duggor forced open the door.
Inside, Rafik the Pale stood wearing a metal circlet with a serpent motif: the Hollow Crown. He was preaching to five transfixed beggars, promising to restore an age of plenty and glory under his rule. Sarya and Duggor noticed tears running down Rafik’s face even as he spoke, suggesting he too was not acting freely.
Duggor charged through the enthralled beggars and tackled Rafik to the ground. Vandren, still invisible, moved forward and seized the circlet from Rafik’s head. Rafik immediately came back to himself, but Vandren failed to resist the Crown’s power and placed it on his own head. The Hollow Crown possessed him, speaking through him and calling for a renaissance of Kemet’s ancient power and glory.
Vandren’s demonic jackal-headed possession fought the ancient presence of the Crown inside his mind, giving him temporary control. Sarya tried to remove the Crown from him, but when she touched it, she too fell under its control. Zayid Al-Marid attempted to intervene, but Sarya, possessed by the Crown, commanded him to leave. Duggor then knocked the Crown from Sarya’s head with his staff, freeing her.
The party attempted to destroy the Crown, but neither sword nor stone could damage it. Vandren used his demonic possession again to resist the Crown’s influence long enough to carry it outside on his sword. He ran onto the side of the pyramid and hurled it into the desert away from the route back to the city. Duggor followed with a heavy rock and dropped it on the Crown, burying it deeper beneath the sand. For now, the Hollow Crown was hidden, though not destroyed.
With the Crown removed, Rafik and the enthralled beggars recovered. They were confused, ashamed and frightened by what had happened. One remembered that someone had been tied up elsewhere in the pyramid, and another warned the party about the crocodile creature in the flooded chamber.
The party explored another door and found a small gold statue of a crocodile on a pressure plate. Sarya examined it, suspected a trap, and took the statue anyway. Both doors slammed shut and sand began pouring into the chamber from holes in the ceiling. Duggor forced the door open through sheer strength while Vandren spiked it open, saving Sarya and Zayid Al-Marid from being buried alive. The trap broke in the process, and Sarya escaped with the statue, which was later valued at 1,000 gp.
The party then rescued the bound prisoner in the flooded area. He wore red robes and a skull-like metal mask and identified himself as a junior-grade Zul Priest of Shade. He had come to investigate the newly uncovered pyramid, seeking knowledge of the past, but had been captured. He refused to accompany the party back to Sarmarkesh, saying he had to return to Shade and report to his superiors. In thanks, he gave the party a metal token marked with lines and dots, saying they would be recognised if they presented it at his temple.
The party left the pyramid and travelled two days back to Sarmarkesh. There they reunited with Layla Saffar. During their absence, she had gathered more evidence that Jamal Jeyr was a member or ally of the Cult of the Black Pyramid and had been diverting Greenharbour Company funds and goods to finance the cult’s search for ancient artefacts. She handed the party the additional paperwork, telling them it should be enough to expose Jamal to the Greenharbour Company.
Layla decided to disappear into the streets of Sarmarkesh for a while. She had no desire to continue working for Jamal or the cult, and although she had been paid for the assassination, she considered helping the party a form of recompense for her unwitting involvement.
Before leaving Sarmarkesh, the party rested and undertook downtime. They sold the golden crocodile statue for 1,000 gp. Duggor undertook martial training and learned to wield a polearm. Vandren attempted martial training to improve his skill with longswords, but failed; he can try again next downtime at a reduced difficulty. Sarya attempted magical research to brew a Potion of Giant Strength, but narrowly failed; she can try again next downtime at a reduced difficulty.
Each character gained 10 XP from the adventure. After expenses, the remaining proceeds from the statue were divided between the party, with Rob receiving a share despite being absent. The likely next mission will involve returning to Sarendib, presenting the evidence to the Greenharbour Company, and then taking a caravan-guard contract against the Crimson Reavers.
NPCS
Layla Saffar
Assassin who killed Farzad Nassour.
Had been hired by Jamal Jeyr.
Previously accosted Vandren but later allied with the party.
Met the party at the Bazaar of Lost Things.
Helped arrange contact with the Bone Lanterns.
Accompanied the party while recovering Farzad’s ledger.
Concluded that Jamal Jeyr was allied with or part of the Cult of the Black Pyramid.
Continued investigating while the party went to the Pyramid of Sobek’s Slumber.
Gathered additional evidence against Jamal.
Handed the evidence to the party.
Went to ground in Sarmarkesh after the affair.
Farzad Nassour
Murdered Greenharbour Company trader.
Had discovered irregularities in company shipments.
Hid his ledger behind the shadowless door at the Palace of Forty Doors.
His notes implicated Jamal Jeyr in smuggling, fraud and aiding the Black Pyramid cult.
Jamal Jeyr
Senior figure in the Greenharbour Company.
Hired Layla Saffar to kill Farzad Nassour.
Suspected of diverting Greenharbour goods and funds to the Cult of the Black Pyramid.
Used Greenharbour shipments to help smuggle the Hollow Crown.
Likely to be exposed when the party returns the ledger and paperwork.
Zuleikha Al-Nasir
Wealthy fence living in the Black Stair district of Sarmarkesh.
Allowed the party to stay in her home overnight before the session began.
Previously connected to the sale of black lotus poison and illicit goods.
Grimvar
Thug and companion of Duggor.
Fought beside Duggor during the Black Pyramid street ambush.
Was killed by cultists in the streets of Sarmarkesh.
His body was taken to be dealt with according to local funerary requirements.
Zayid Al-Marid
Sarya’s apprentice.
Helped fight the Black Pyramid cultists with mage bolt.
Helped examine Farzad’s ledger.
Accompanied the party into the Pyramid of Sobek’s Slumber.
Was commanded to leave by Sarya while she was possessed by the Hollow Crown.
Was nearly buried alive with Sarya in the sand-trap chamber.
Survived the expedition.
Red Sash Mercenaries
De facto guards of Sarmarkesh.
Intervened during the Black Pyramid street attack.
Helped drive off or kill the cultists.
Identified the attackers as members of the Cult of the Black Pyramid.
Gave the party two healing vials.
Suggested that the party seek out Rajab Al-Kafir if they wanted further work in the city.
Cult of the Black Pyramid
Fanatical cult active in Sarmarkesh.
Uses the symbol of a black triangle.
Attacked the party in broad daylight.
Connected to the diverted Greenharbour goods.
Seeking Rafik the Pale and the Hollow Crown.
Appears to be funding expeditions through stolen or diverted Greenharbour resources.
The cultist note was signed by someone calling themselves the Dark Pharaoh.
The Dark Pharaoh
Name signed on the Black Pyramid cultist note.
Ordered the unbelievers killed.
Wanted to prevent interference with the search for Rafik and the Hollow Crown.
True identity and nature unknown.
Rafik the Pale
Bone Lantern guide.
Stole the Hollow Crown from a smuggled consignment.
Became possessed or controlled by the Crown.
Gathered beggars and the poor by promising to restore the glory of ancient Kemet.
Travelled to the Pyramid of Sobek’s Slumber.
Was freed when Duggor tackled him and Vandren removed the Crown.
Survived the session.
Bairam Shojaii
Leader of the Bone Lanterns.
Met the party in the Cavern of Sorrow.
Confirmed Rafik had recently become strange and had disappeared.
Ordered Copes to guide the party to the Veil of Tears.
Honours the dead whose bones form the Cavern of Sorrow.
Copes
Bone Lantern guide.
Initially guided the party to the Palace of Forty Doors.
Was pressured by Layla into taking the party to Bairam Shojaii.
Later guided the party to the Veil of Tears.
Avoided putting himself in direct danger.
Azar Pacal
Lame beggar found in the Veil of Tears.
Had been enthralled by Rafik’s preaching.
Recovered after the party subdued him and his companions.
Explained that Rafik had taken the fitter beggars to the Pyramid of Sobek’s Slumber.
Received food, coffee and silver from the party.
Enthralled Beggars
Poor and desperate people from Sarmarkesh.
Were magically or supernaturally influenced by Rafik and the Hollow Crown.
Believed they would help restore ancient Kemet.
Some were left behind in the Veil of Tears.
Others were taken to the Pyramid of Sobek’s Slumber.
Recovered after the Crown was removed.
Junior Zul Priest of Shade
Red-robed priest wearing a skull-like metal mask.
Came to the Pyramid of Sobek’s Slumber to investigate the newly revealed ruin.
Was captured and tied up by those under the Hollow Crown’s influence.
Identified himself only as a junior-grade Zul Priest.
Said names are not used within the priesthood.
Gave the party a metal token of recognition.
Returned to Shade to report to his superiors.
LOCATIONS
Sarmarkesh
City of Thieves.
Built across many levels of craggy mountain stone north of Kemet.
Ruled by the Council of Forty Keys.
Filled with markets, thieves, fences, smugglers and constant trade.
Starting and ending location of the session.
Black Stair District
Wealthy district of Sarmarkesh.
Ground is coated with black stone dredged from ancient monuments.
Home of Zuleikha Al-Nasir.
The party stayed here overnight before the session began.
Bazaar of Lost Things
Main trading area of Sarmarkesh.
Site of the planned meeting with Layla Saffar.
The party reached it after surviving the Black Pyramid cultist ambush.
Coffee Stall
Street-side stall selling milky desert coffee and tea.
Vandren used it to expose the party’s pursuers.
Site of the Black Pyramid cultist ambush.
The vendor gave the party coffee after the battle.
Palace of Forty Doors
Palace associated with the Council of Forty Keys.
Reached via Bone Lantern undercity routes.
Outside it stands a mural of forty raised painted doors.
One door did not cast a shadow at noon.
The hidden alcove behind that door contained Farzad’s ledger.
Cavern of Sorrow
Bone Lantern headquarters beneath Sarmarkesh.
Ossuary-like cavern built from the bones of those who died during the city’s first war with the Sultanate.
Home or meeting place of Bairam Shojaii and the Bone Lanterns.
Veil of Tears
Damp cavern beneath Sarmarkesh.
Water drips constantly from cracked clay pipes above.
The last place Rafik was seen before heading to the pyramid.
Several enthralled beggars were left behind there.
Pyramid of Sobek’s Slumber
Recently uncovered pyramid two days east of Sarmarkesh.
Only the top had been visible above the sand until a recent sandstorm.
Contained damp tunnels, stone doors, flooded chambers, traps and the Hollow Crown.
Site of Rafik’s attempted restoration of ancient Kemet.
Flooded Chamber
Water-filled chamber inside the Pyramid of Sobek’s Slumber.
Contained a headless corpse.
Home to a crocodile or alligator-like monster.
A bound Zul Priest was held nearby.
Sand-Trap Chamber
Chamber containing a golden crocodile statue on a pressure plate.
Removing the statue caused both doors to slam shut and sand to pour from the ceiling.
Duggor forced the door open and broke the mechanism.
Sarya escaped with the statue.
Shade
Home or base of the Zul Priests.
The rescued Zul Priest returned there after being freed.
The party now has a token that may allow recognition there.
TREASURE
10 gp:
Found on a dead Black Pyramid cultist.
Black Pyramid medallion:
Taken by Vandren from a dead cultist.
Bears the black triangle symbol.
Farzad’s ledger:
Hidden behind the shadowless door at the Palace of Forty Doors.
Contains evidence of Greenharbour Company shipment fraud.
Implicates Jamal Jeyr and the Black Pyramid cult.
One silk slipper:
Taken from one of the beggars in the Veil of Tears.
Sold or traded for around 10 gp.
Golden crocodile statue:
Found in the Pyramid of Sobek’s Slumber.
Triggered a sand trap when removed.
Worth 1,000 gp.
Sold during downtime.
Zul Priest recognition token:
Small flattened metal disc marked with lines and dots.
Given by the rescued junior Zul Priest.
Can be presented at his temple for recognition.
Additional evidence from Layla Saffar:
Paperwork supporting Farzad’s ledger.
Further implicates Jamal Jeyr in diverting Greenharbour money and goods to the Black Pyramid cult.
MAGIC ITEMS
The Hollow Crown
Ancient metal circlet with a serpent motif.
Smuggled through Greenharbour Company shipments.
Stolen by Rafik the Pale.
Possesses or controls whoever wears it.
Compels its wearer to speak of restoring ancient Kemet.
Can command enthralled followers.
Resisted briefly by Vandren’s demonic possession.
Could not be damaged by sword or stone.
Buried beneath the desert sands outside the Pyramid of Sobek’s Slumber.
Not destroyed.
Tomb Sword
Vandren’s sword.
Used during the ambush and the pyramid expedition.
Used to carry the Hollow Crown without touching it directly.
Further details not established in this transcript.
Sarya’s Wand of Invisibility
Used to make Vandren invisible during the Black Pyramid cultist ambush.
Used again before entering the chanting chamber in the pyramid.
Failed later when Sarya attempted to make herself invisible.
DOWNTIME
XP
Each character gained 10 XP from the session.
Treasure Division
The golden crocodile statue was sold for 1,000 gp.
Each present character spent 50 gp on downtime training or research.
Final discussion suggested most characters received around 200 gp after division and costs.
Rob’s absent character also received a share.
Duggor’s Downtime
Undertook martial training.
Successfully learned to wield polearms.
Cost: 50 gp.
Vandren’s Downtime
Attempted martial training to improve longsword use.
Failed the check.
Cost: 50 gp.
Future attempt to improve longsword use is DC 11 instead of DC 12.
Sarya’s Downtime
Attempted magical research to create a Potion of Giant Strength.
Failed by one point.
Cost: 50 gp.
Future attempt to create the potion is DC 14 instead of DC 15.
OPEN THREADS
What exactly is the Hollow Crown?
Who created the Hollow Crown?
Is the Crown connected to the Dark Pharaoh?
Will someone eventually find the Hollow Crown buried in the desert?
What is the Dark Pharaoh’s true identity?
What is the Cult of the Black Pyramid trying to restore?
What ancient Kemet power or empire does the cult serve?
What other artefacts has the cult recovered?
How deeply is Jamal Jeyr involved with the cult?
How will the Greenharbour Company respond to evidence of Jamal’s treachery?
Will Layla Saffar return as an ally, rival or future employer?
What does the Zul Priest token allow the party to do?
Will the Zul Priests of Shade become allies, rivals or enemies?
What was the crocodile creature in the flooded chamber?
What will happen to Rafik the Pale after being freed from the Crown?
Will the Bone Lanterns remain friendly to the party?
Who is Rajab Al-Kafir, and what work might he offer?
What consequences follow from Grimvar’s death?
Will Vandren’s demonic possession clash again with other possessing forces?
Can Sarya successfully brew a Potion of Giant Strength next time?
Can Vandren complete his longsword training next downtime?
NEXT SESSION
Immediate Issues
Return to Sarendib.
Present Farzad’s ledger and Layla’s evidence to the Greenharbour Company.
Expose Jamal Jeyr.
Potentially gain Greenharbour Company favour or employment.
Decide what to do about Layla Saffar’s involvement.
Decide whether to mention the Hollow Crown or keep its burial secret.
Possible Future Directions
Greenharbour Company mission following Jamal’s exposure.
Caravan-guard work against the Crimson Reavers.
Further investigation into the Cult of the Black Pyramid.
Follow up with the Bone Lanterns.
Seek out Rajab Al-Kafir in Sarmarkesh.
Visit Shade and present the Zul Priest token.
Return to the Pyramid of Sobek’s Slumber if the Hollow Crown resurfaces.
Hunt the Dark Pharaoh’s agents.
Likely Planned Destination
Sarendib, to report back to the Greenharbour Company.
After that, likely a caravan-guard mission against the Crimson Reavers.
Party Status
Grimvar is dead.
Zayid Al-Marid survived and remains Sarya’s apprentice.
The party recovered Farzad’s ledger.
The party has evidence implicating Jamal Jeyr.
The Hollow Crown has been buried in the desert, but not destroyed.
The party has a Zul Priest recognition token.
Vandren has +1 renown.
Duggor can now wield polearms.
Vandren can retry longsword training at reduced difficulty.
Sarya can retry brewing a Potion of Giant Strength at reduced difficulty.
The party has earned 10 XP each.